

How Symbolic Desktop Art Strengthens Focus, Purpose, and Inner Calm
December 15, 2025How to Change Desktop Icon Spacing in Windows 11 & 10 — Make Your Icons Look Perfect
May 28, 2026
How to Install a Icon Theme on Windows 11 with Windhawk
Why Windhawk? (And Why It's the Safest Way to Do This)
Windhawk is a free, open-source mod platform that takes a completely different approach. Instead of modifying files on your disk, it redirects loaded icon files to a different folder, making all programs load alternative icons without actually touching the original icons on disk. This redirection is done only in memory, and can be disabled easily and safely by disabling the mod or exiting Windhawk.
That's a game changer. It means:
Zero risk to system files — Windows updates won't wipe your theme
Fully reversible — disable the mod and everything snaps back instantly
No registry hacks — clean, transparent, and auditable
Windhawk applies changes by injecting small pieces of code into target processes. The platform exposes mod source code so reviewers can inspect what a mod does before installing it. This transparency is rare in the customization world and one of the main reasons I trust it for my own setup.
What Is the Resource Redirect Mod?
Windhawk works through individual modules called "mods." For icon theming, the one we need is called Resource Redirect. It defines alternative files for loading various resources — such as icons in imageres.dll — for simple theming without having to modify system files.
Themes are configured via INI files that map original system files to custom resource files. A theme.ini file contains a `[redirections]` section with key-value pairs — the original system file path on one side, and the relative path to your replacement file on the other. Don't worry, my icon pack comes with the config file already prepared — you just need to paste a path.
Step-by-Step Installation Guide
Step 1 — Download and Install Windhawk
Go to windhawk.net and grab the installer. Windhawk offers a compact online installer (around 10 MB) and a larger offline installer. The small online installer downloads any necessary dependencies on demand, keeping the initial download tiny and installation quick.
Run it, follow the prompts, and Windhawk will be running in your system tray.
Step 2 — Install the Resource Redirect Mod
Once Windhawk is open:
Click "Mods" in the upper-right menu
Search for "Resource Redirect"
Click Install on the mod by Ramen Software
After installing the Resource Redirect mod, you can select an icon theme from the mod's settings. But first, let's get my icon pack in place.
Step 3 — Download and Extract the Icon Theme
Download the icon pack from the link below. Once downloaded, extract the folder to a permanent location on your drive — somewhere you won't accidentally move or delete it later, like:
C:\Cryo64\Icon_Themes\
**Important:** Don't move the theme files or change their filenames unless you know how the theme redirection works! The mod reads file paths, so if you move the folder later, you'll need to update the path in Windhawk.
Step 4 — Apply the Theme in Resource Redirect
Now for the fun part:
1 - Open Windhawk and click on the Resource Redirect mod
2 - Go to the Settings tab
3 - In "Theme paths" paste the copied path to the theme folder in the empty box and remove any path quote marks.
4 - Click Save
Windows will begin loading the new icons almost immediately.
Step 5 — Clear Your Icon Cache
After applying the theme, you may not see immediate results due to Windows icon caching. You can use the included script "Clear_icon_cache.bat" included in the Icon Tools folder. My download includes a one-click cache-clearing script — just run it as Administrator and you're done. A quick Explorer restart (or sign out/sign in) will bring everything together.
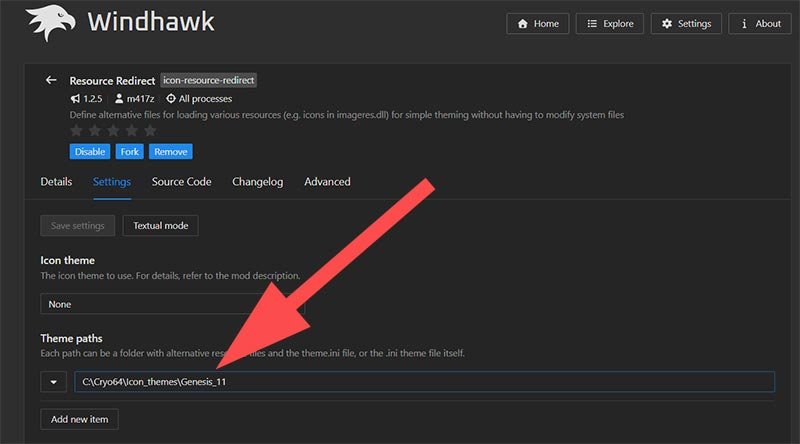
Windhawk Theme paths
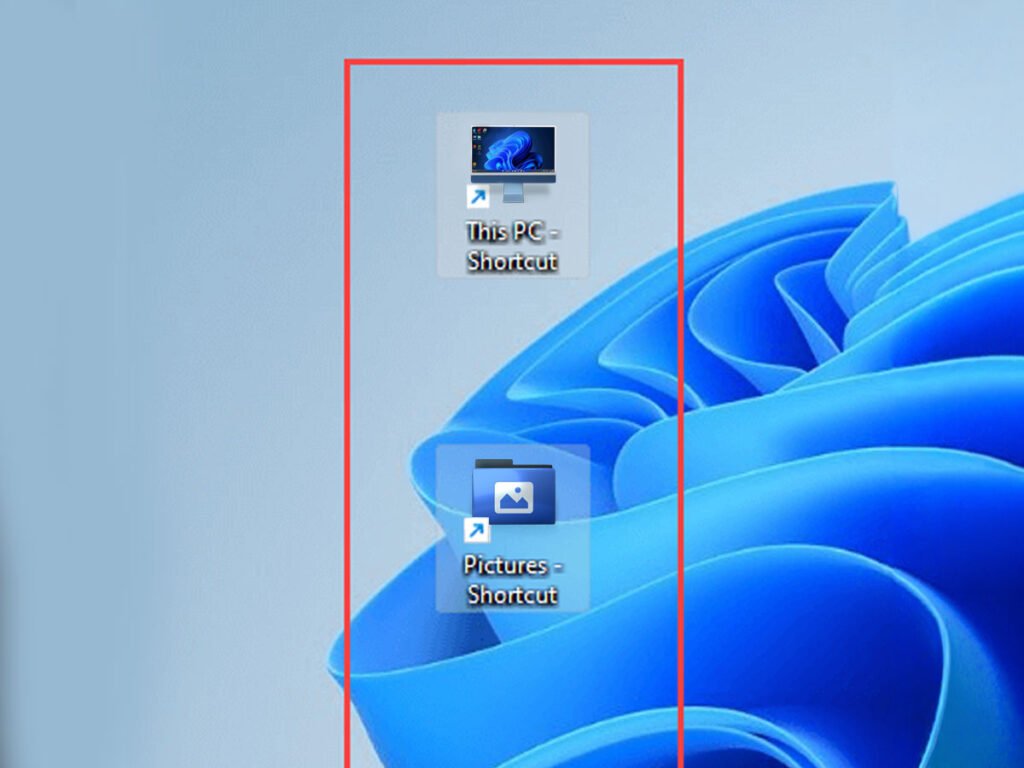
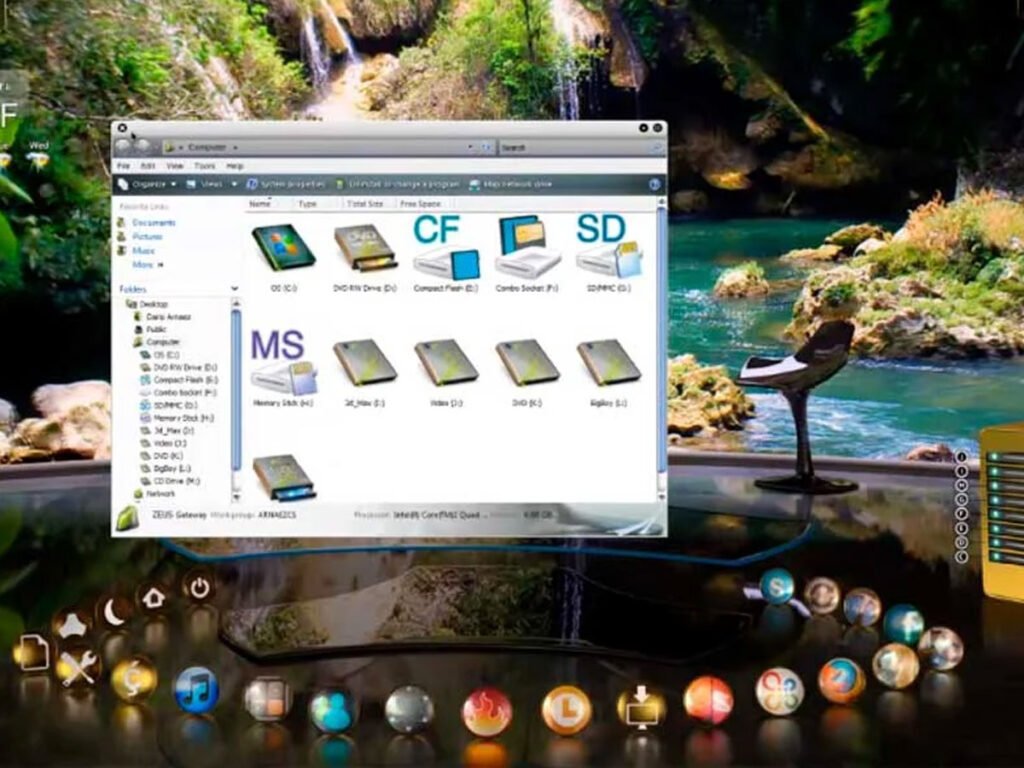
What to Expect After Installation
Once everything is applied, your system icons — folders, drives, settings, apps — will be replaced with the new 3D icons. The theme covers:
Shell icons (folders, drives, trash, network)
System app icons (Settings, File Explorer, Control Panel)
Common file type icons
The look is designed to complement Windows 11's rounded Fluent interface while giving it real visual depth and personality that the default theme simply doesn't have.
Troubleshooting Tips
Some icons didn't change? Clear the icon cache again and restart Explorer. Windows sometimes caches icons aggressively.
Icons look blurry? Make sure you extracted the full theme folder and that your path in Windhawk has no extra quote marks around it.
Want to go back to default? Just open Windhawk, click on Resource Redirect, and hit Disable or Uninstall. Everything reverts instantly — no trace left behind.
---
More of My Work
This is the latest in an ongoing series of 3D icon projects I've been developing as a visual designer. If you want to explore my previous packs:
Cryo64 — A cold, futuristic icon set with razor-sharp detail
OHMYicons — An expressive, vibrant pack for those who love color
Follow my releases on DeviantArt and right here on the blog.
---
Final Thoughts
Windhawk's Resource Redirect mod has completely changed how I think about sharing icon themes. No more asking people to patch system files or worry about Windows updates breaking things. It's clean, it's safe, and it works beautifully — and I think you're going to love the result.
→ Download the Icon Theme Here
More of My Work
This is the latest in an ongoing series of 3D icon projects I've been developing as a visual designer. If you want to explore my previous packs:
Cryo64 — A cold, futuristic icon set with razor-sharp detail
OHMYicons — An expressive, vibrant pack for those who love color
Follow my releases on DeviantArt and right here on the blog.
Final Thoughts
Windhawk's Resource Redirect mod has completely changed how I think about sharing icon themes. No more asking people to patch system files or worry about Windows updates breaking things. It's clean, it's safe, and it works beautifully — and I think you're going to love the result.


